***Join me over at my new blog: Life a la Mode***
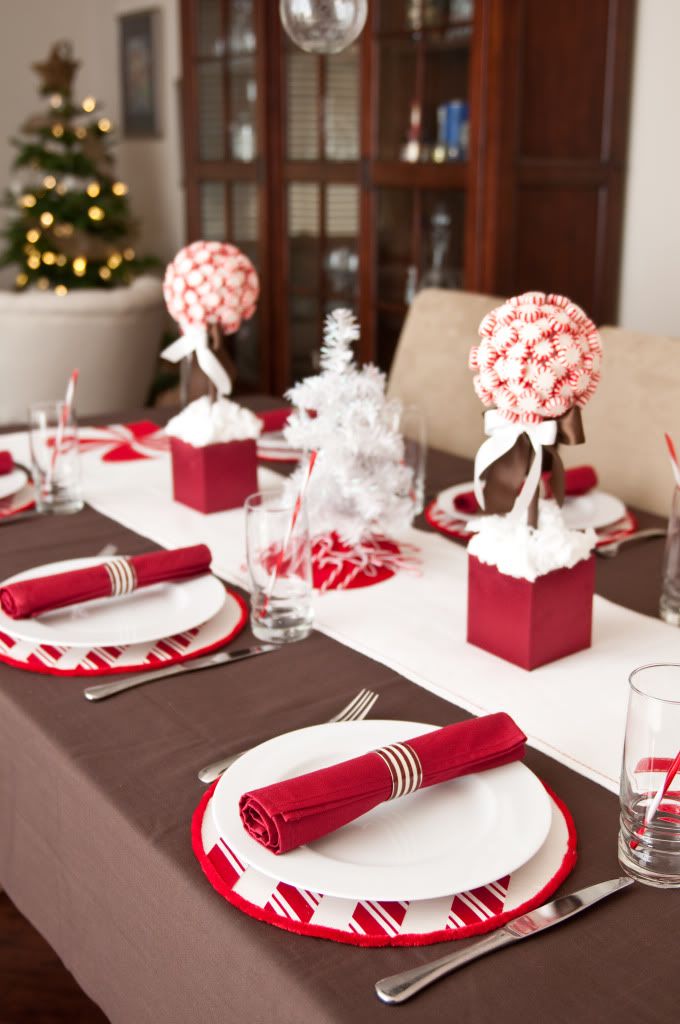
Just in case you haven't gotten enough peppermint going on already with the topiaries, here's the tutorial on how to make those placemats you saw on the Peppermint & Chocolate Tablescape.
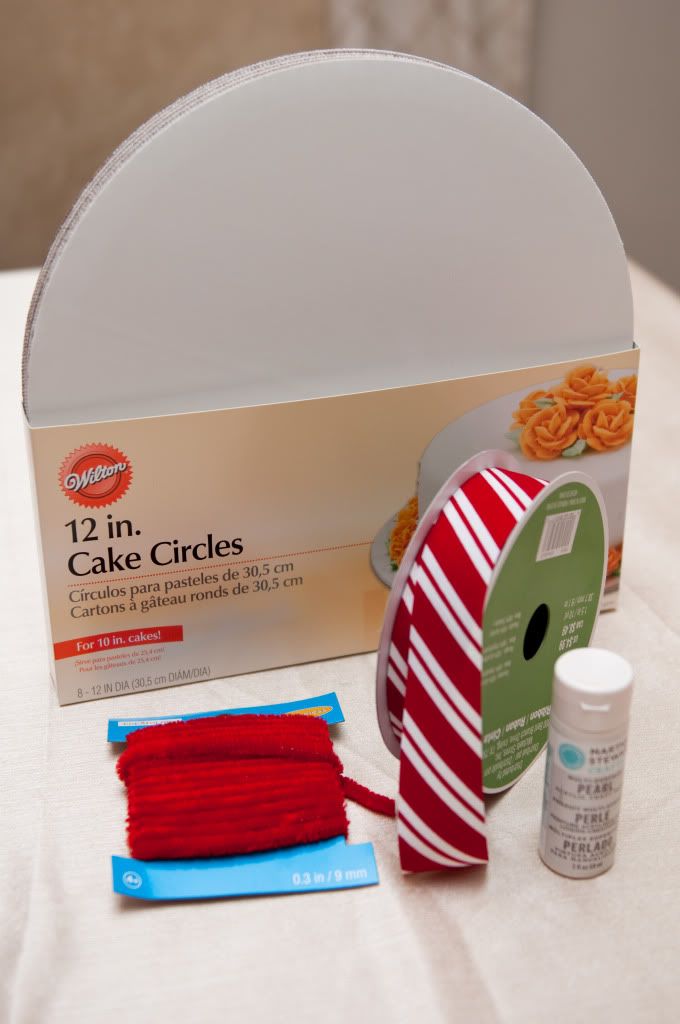
Placemat Supplies:
Pack of 12" Cake Rounds
White Pearl Paint - I used Martha Stewart's
Sponge Brush
Chenille Wireless Pipe Cleaners 3 packs from Michael's
Ribbon 10 yards. I found this ribbon among this season's Christmas ribbons at Michael's for 50% off
Tacky Glue
Hot Glue
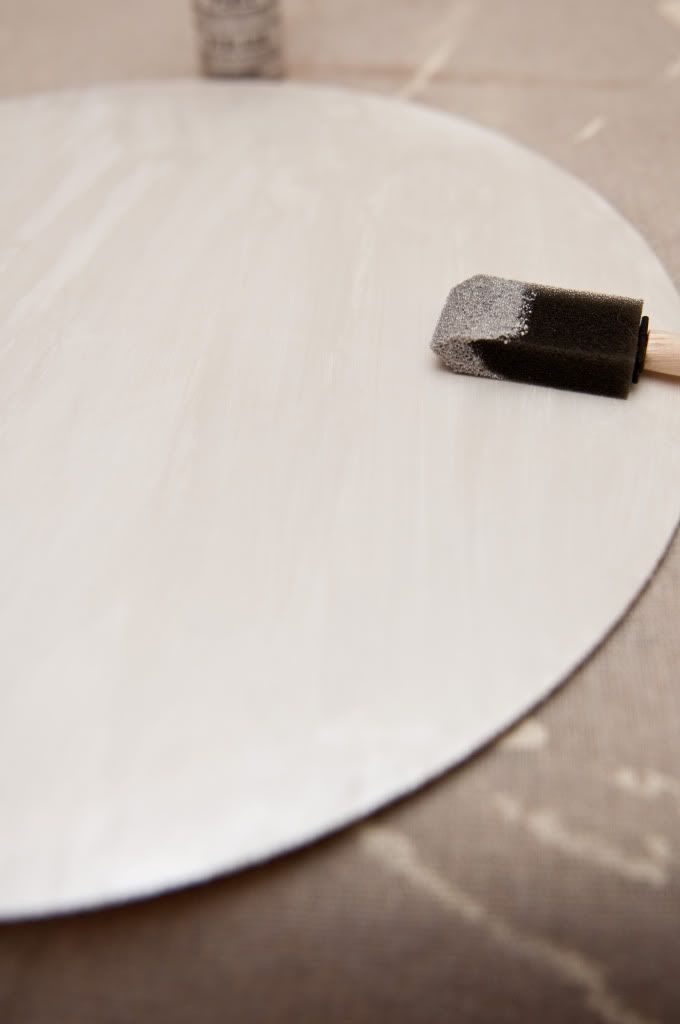
While it might seem strange to paint a white cake board white, the cake boards are corrugated cardboard and the corrugation will show if not painted the shimmery white. But this is a two for one as the shimmer of the pearl paint looks like spun sugar, which is perfect for these peppermint placemats. I used a sponge brush to minimize brush strokes and made sure I only went in one direction.
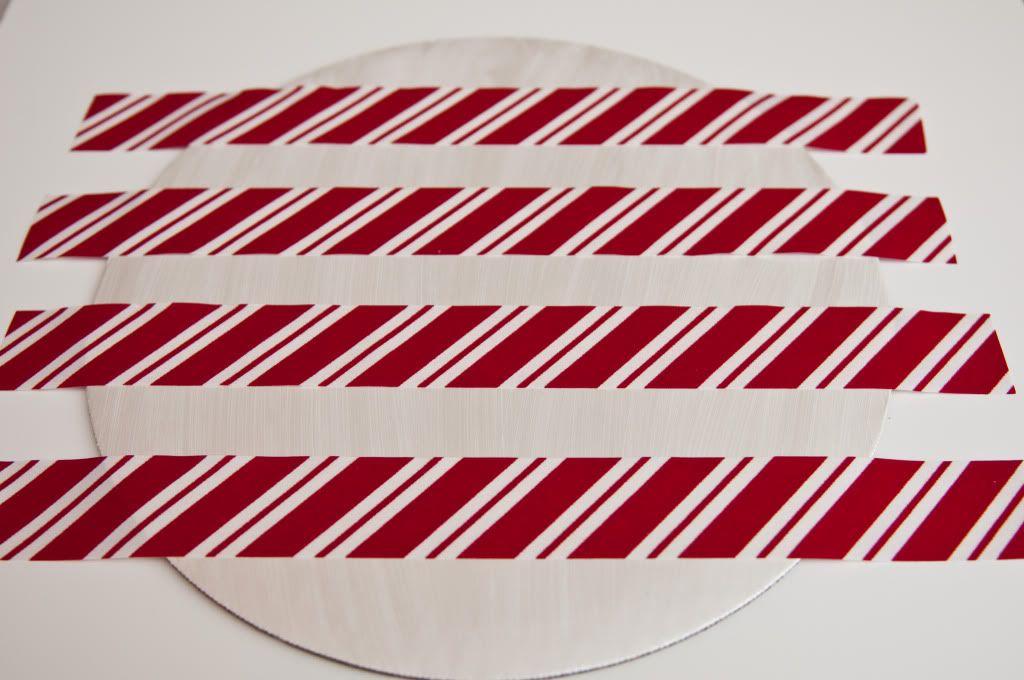
Cut your strips of ribbon. I cut all of mine 14" as I wanted at least a 1" overhang on each side.
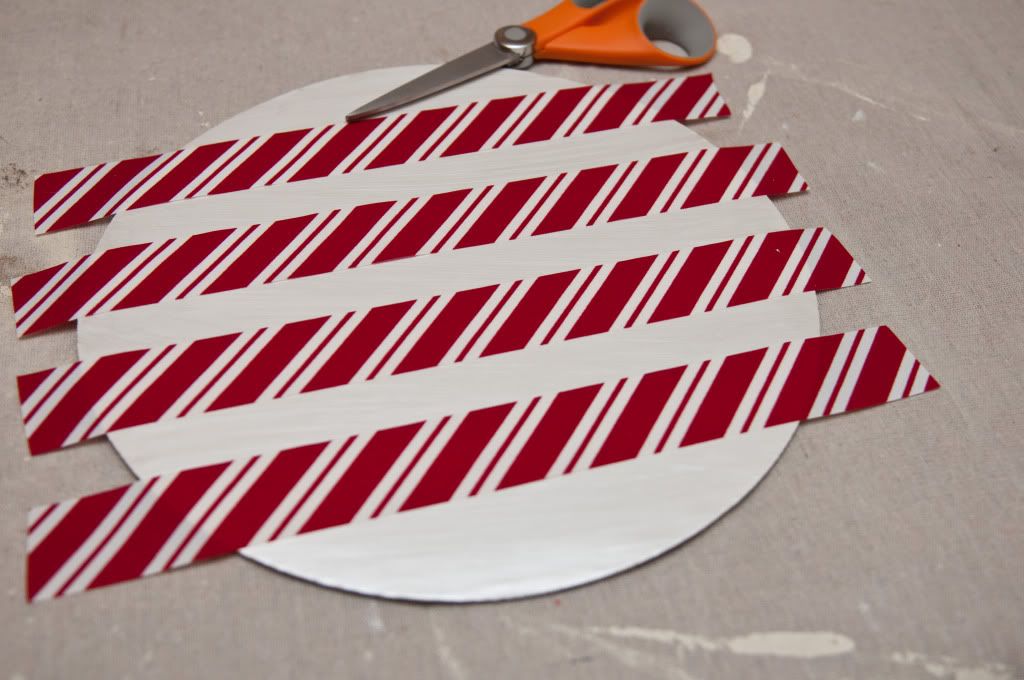
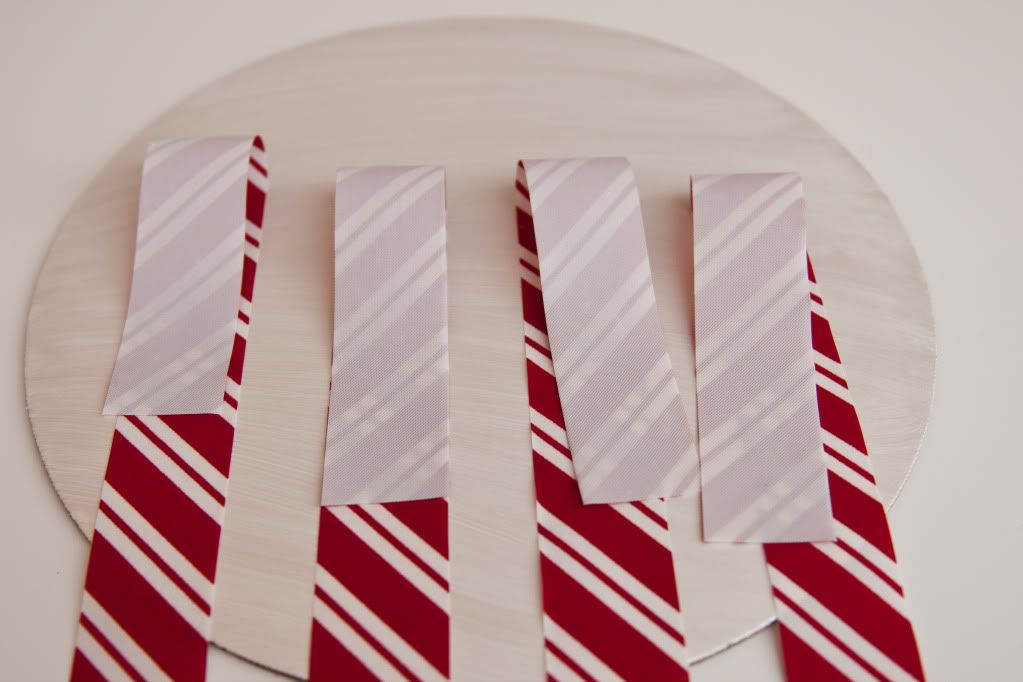
In the center of the ribbon, paint a little dot of tacky glue on all 4 ribbon pieces.
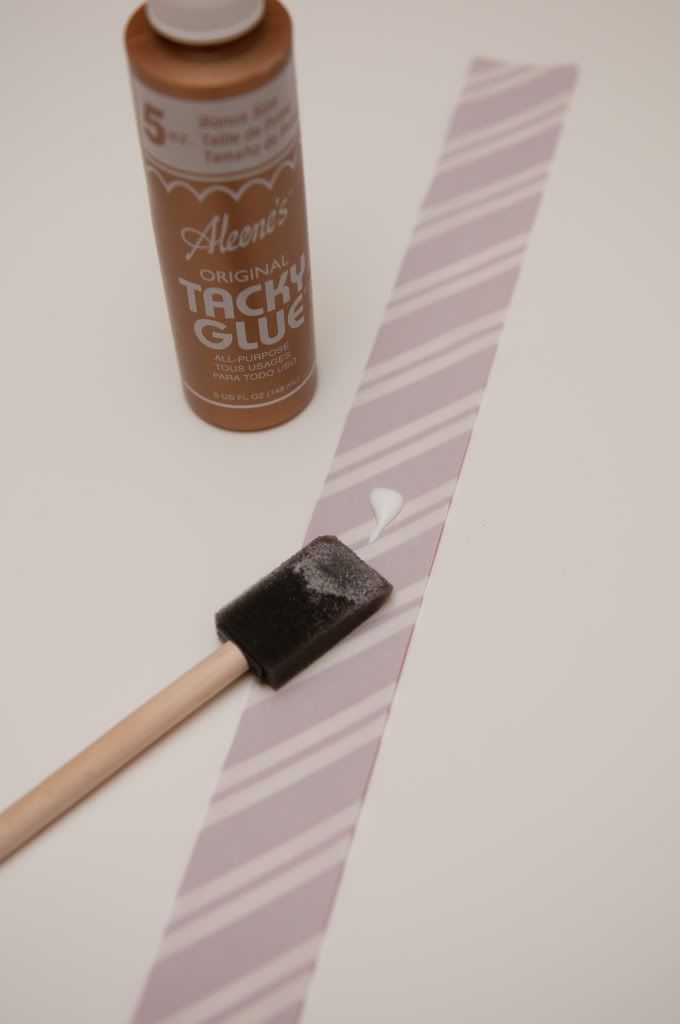
Place them on your dry, painted board. I used Tacky glue on this step rather than hot glue because the tacky glue will allow me to shift the ribbon a bit if needed to keep the spaces even and the ribbon straight. But be careful, if you have to remove the ribbon and put it in an all together different spot, the paint will come up and you'll have to do a touch up.
Once in place I flipped back the ribbon and used hot glue (as it hardens immediately) to secure the rest of the ribbon.
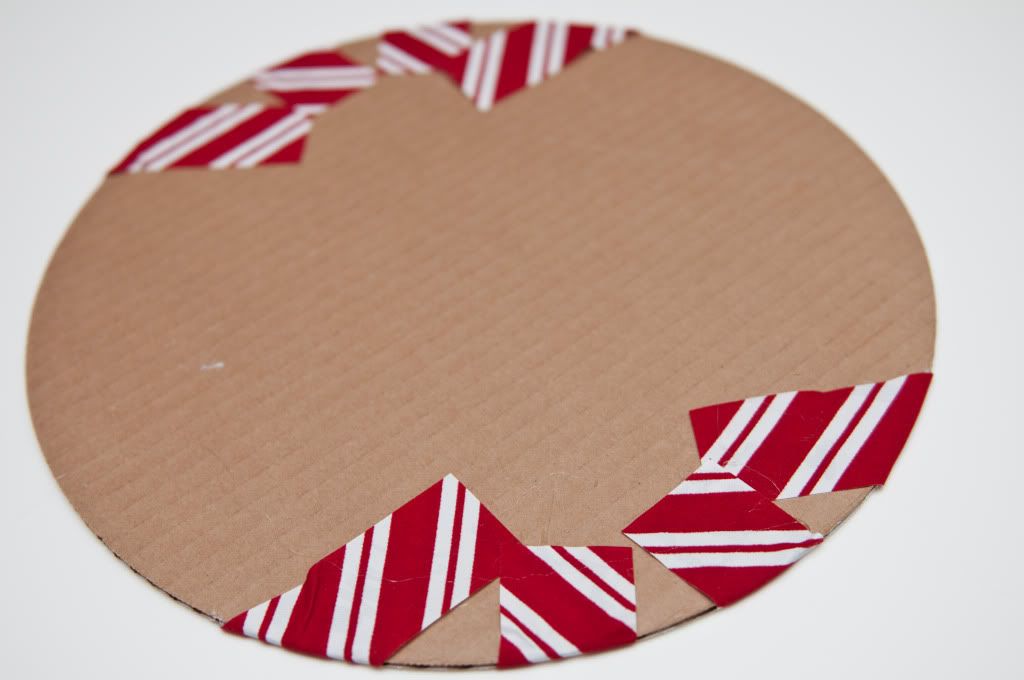
Secure the ribbon to the back.
To hide that ugly cardboard on the side, use hot glue to adhere the wireless pipe cleaner.
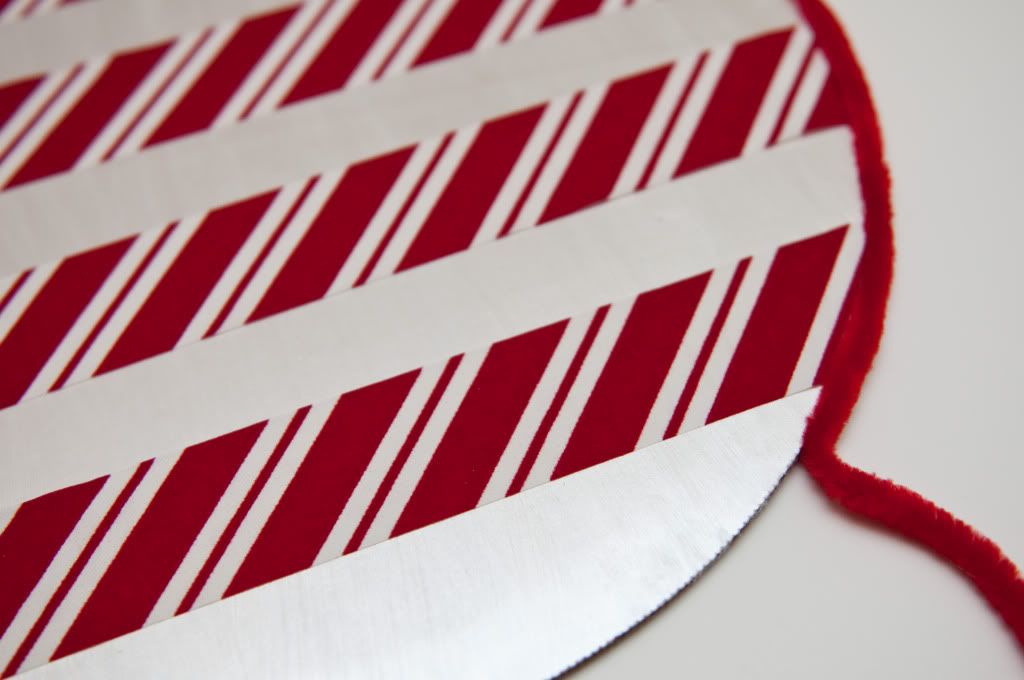
Easy peasy! Six cute placemats for about $2.50 each!
You could also take the same principles, cut some swirls out of felt and have yourself peppermint swirl placemats!
UPDATE: CHECK OUT THE OTHER PLACEMATS YOU CAN MAKE WITH CAKE CIRCLES. CLICK HERE!
Linking to:

Toys in the Dryer
Serenity Now
Centsational Girl
DIY by Design
Beneath My Heart
I love your placemat idea! I never would have thought to use the cardboard cake rounds! Have a good night.
ReplyDeleteWhat a great, easy, cheap and graphic idea! I really love it. =)
ReplyDeleteHi Heather! Thanks for your lovely comment on my blog! I love your tablescapes and I'm now your newest follower! :) xo K
ReplyDeleteThis is a FAB idea!!! I have the perfect rick rak for this project! Thanks so much for sharing!
ReplyDeleteWould you please share this with my readers for our Fun Stuff Fridays linky party? http://www.toysinthedryer.com/2011/12/fun-stuff-fridays-3.html
What a cute idea! You could make all sorts of chargers for various holidays with this technique.
ReplyDeleteI'm visiting from Serenity Now.
These placemats are SUPER cute!
ReplyDeleteI love this!! Peppermint decorations look great!
ReplyDeleteLove the table. The placemats are great!
ReplyDeletevisiting from centsational girl
Cake circles? Wah??? They do look so pretty too - you've done a beautiful job! Happy holidays.
ReplyDelete