So you may have seen these in my Fall Inspired Bridal Shower post
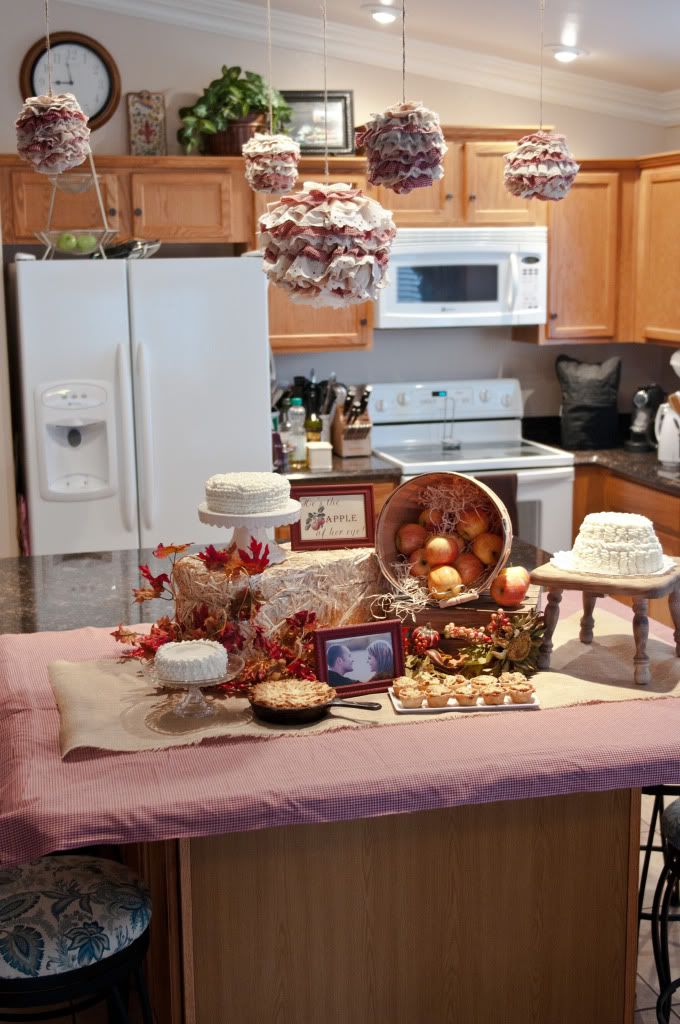
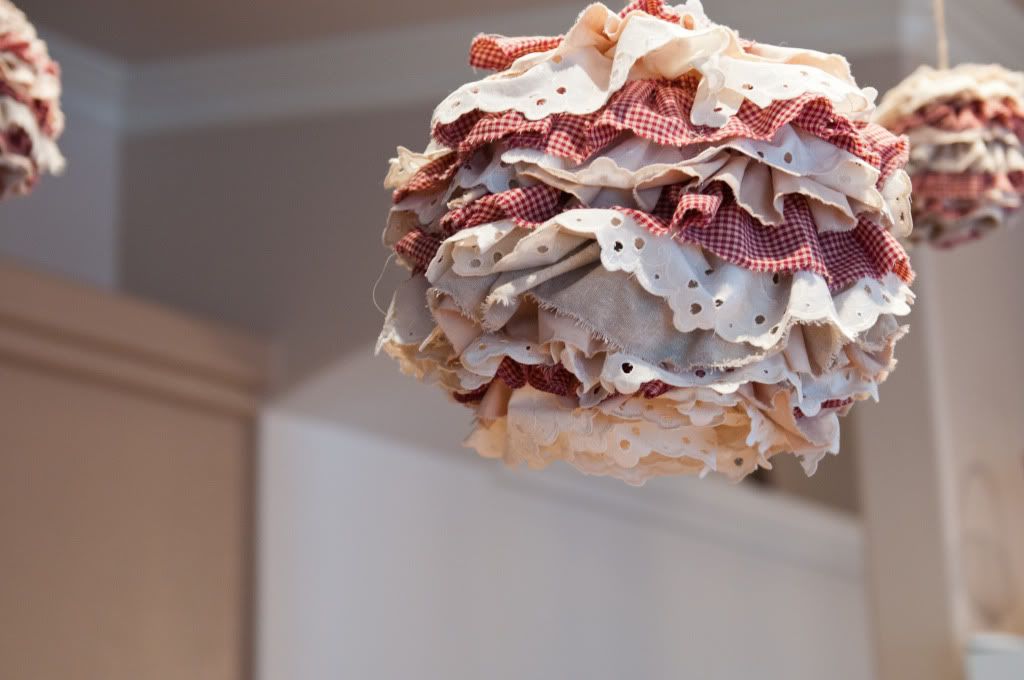
When the bride to be saw them she called them "puffs." When I said I'd been calling them ruffle balls she immediately exclaimed "RUFF PUFFS!" So since she's the bride, and what the bride says goes, I dub them ruff puffs. :-)
These were so easy (and fun) to make. I ripped long strips of fabric - I wanted a frayed edge. Then I let the sewing machine do my dirty work. I should probably state that I'm not a sewer. As a matter of fact, I stumbled upon fact that the machine would ruffle for me quite by accident. So, I can only tell you what I had my settings on. I honestly don't even really know what all the little knobies (TECHNICAL TERM ALERT ;-)) do. I'm in the process of learning.
Ok...so back to the settings:
Thread tension: 7.5 (which is higher than the normal setting of 4. I may not sew very well, but I'm an expert google-er :-))
Stitch width: 4
Stitch length: 4
Pressure Foot Pressure: I had to loosen this a bit. My thread kept breaking and after adjusting all other settings and making sure everything was threaded correctly, I tried messing with this and loosening it solved the thread breaking problem.
It was on a basic straight stitch
I used a regular, all purpose foot
Once my settings were right, I can't believe how easy this was. Ok now YOU say, "HOW EASY WAS IT?" It was SO easy, I could hold my 5 pound camera (yes, it's really that heavy), take pictures and sew a ruffle!
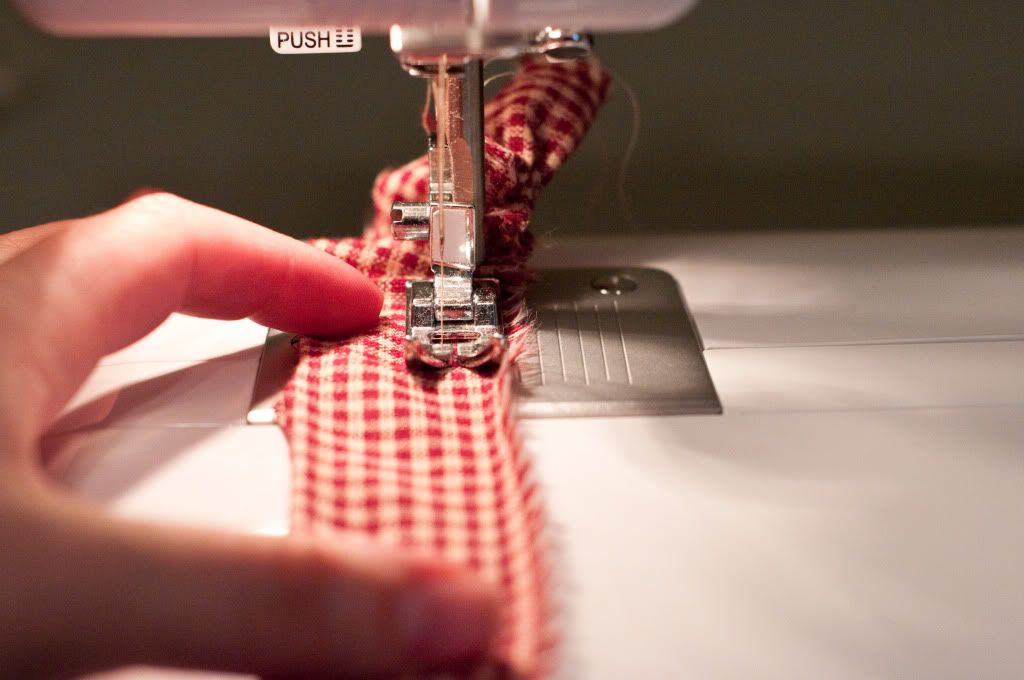
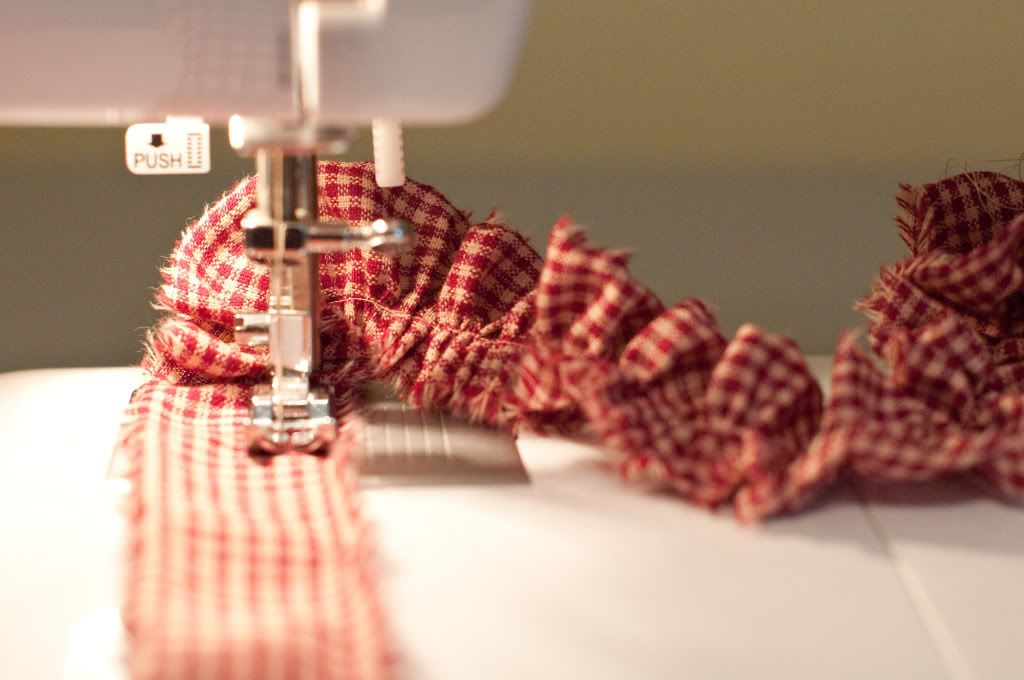
I'm not sure I know how much fabric these took (I know...bad blogger). I want to say it was a few yards. The ruffles really shrink the fabric. I want to say I got the 8" round and four 4" balls from 3 ish (maybe 4 yards) of fabric, but it would depend on how wide your fabric is too. I used several different types of fabric for my ruffles.
After sewing a ruffle strip, I left quite a bit of length of the thread on each end.
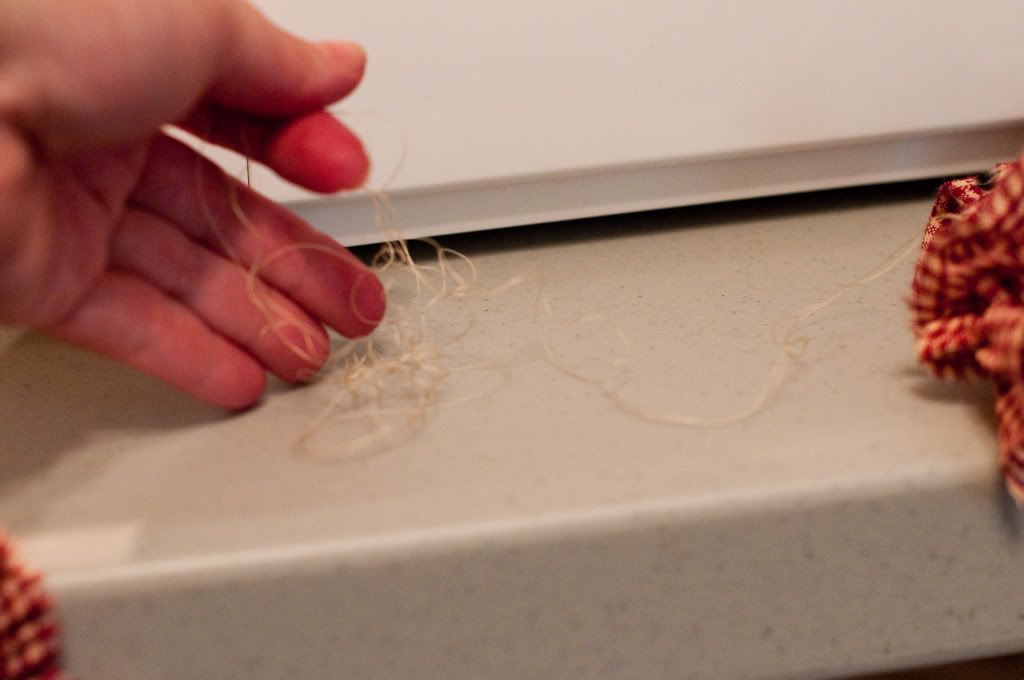
This is so I could slide the ruffles looser as necessary. Just take the fabric and slide it down.
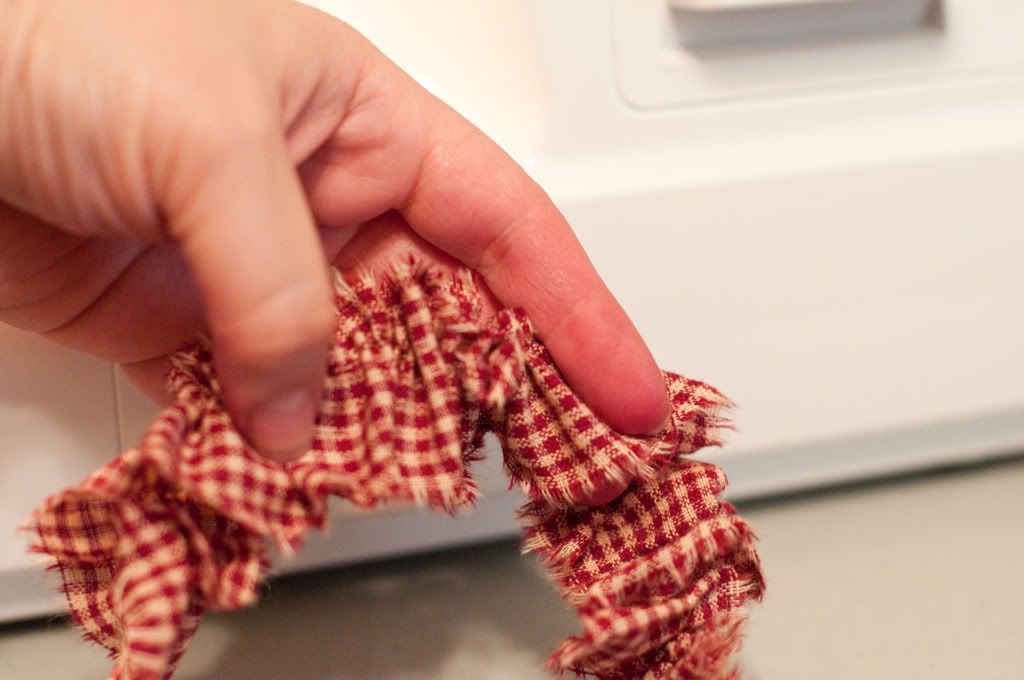
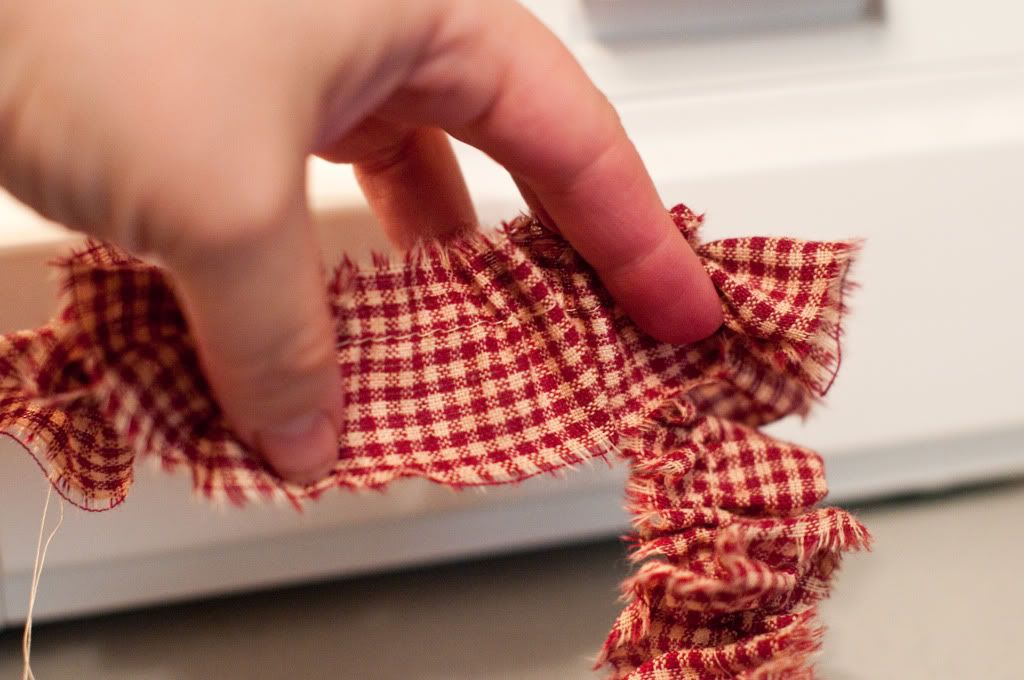
Once you have your ruffles all sewn and ready to go...

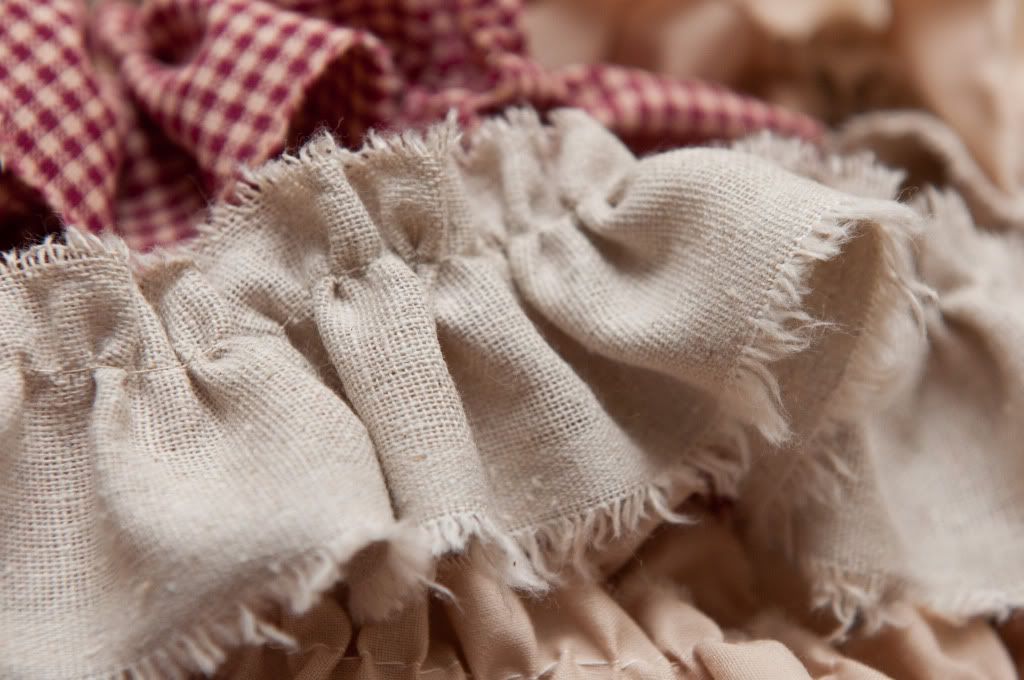
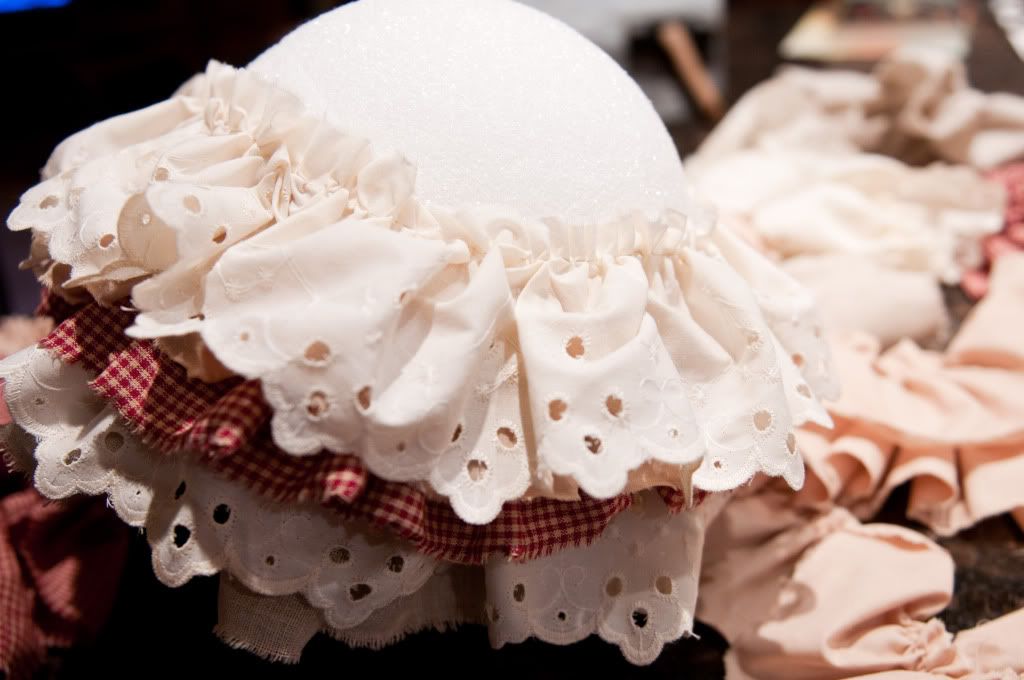
...use hot glue to secure them onto your styrofoam ball. I started in the middle of the ball, then worked down, then up. I used a red/cream checked cotton, a fake linen, a muslin, and some eyelet lace. But that's just me. These could be cute in any fabric!
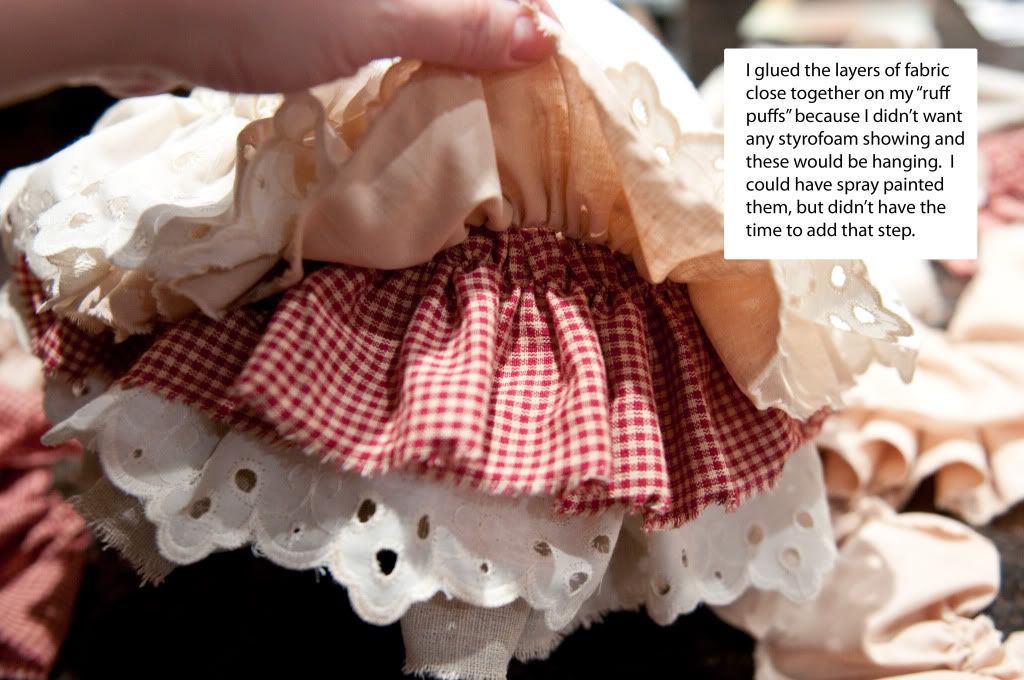

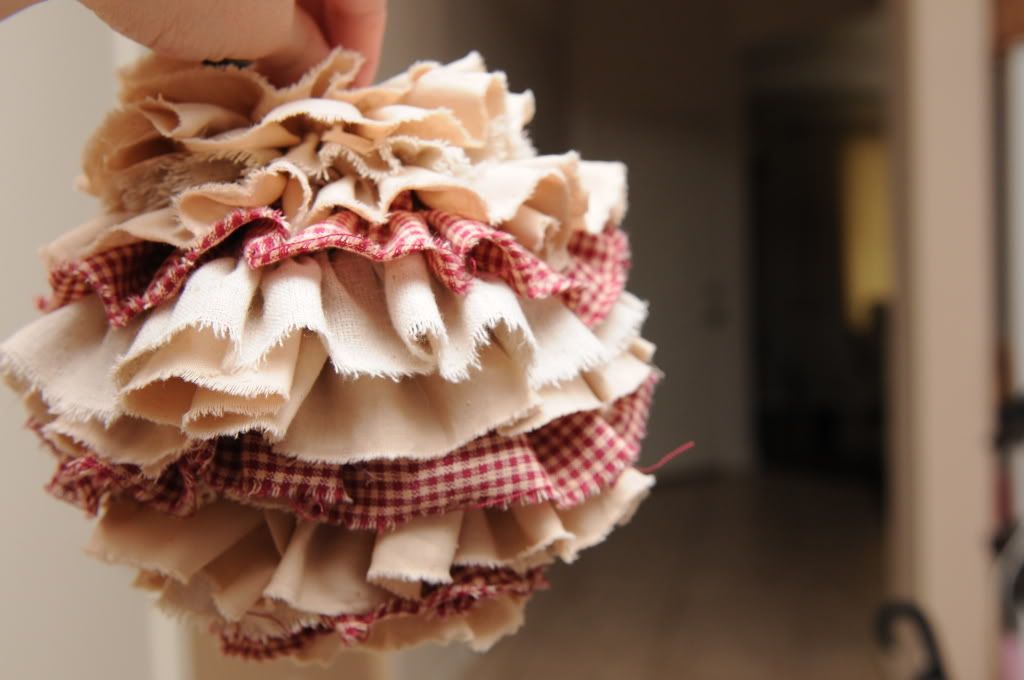
To be able to hang them, I put eye hooks in the tops of the ruff puffs. I punched a hole with them and then filled the hole with hot glue before placing the eye hook in the puff. The hot glue will help it stay securely in the ball.
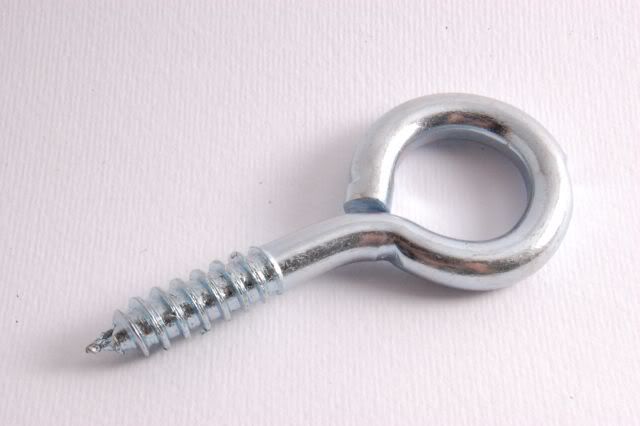
I threaded jute through the eye hook and used command strips to hang them from the ceiling. Do you use command strips? I LOVE them. Seriously. L to the O-V-E!
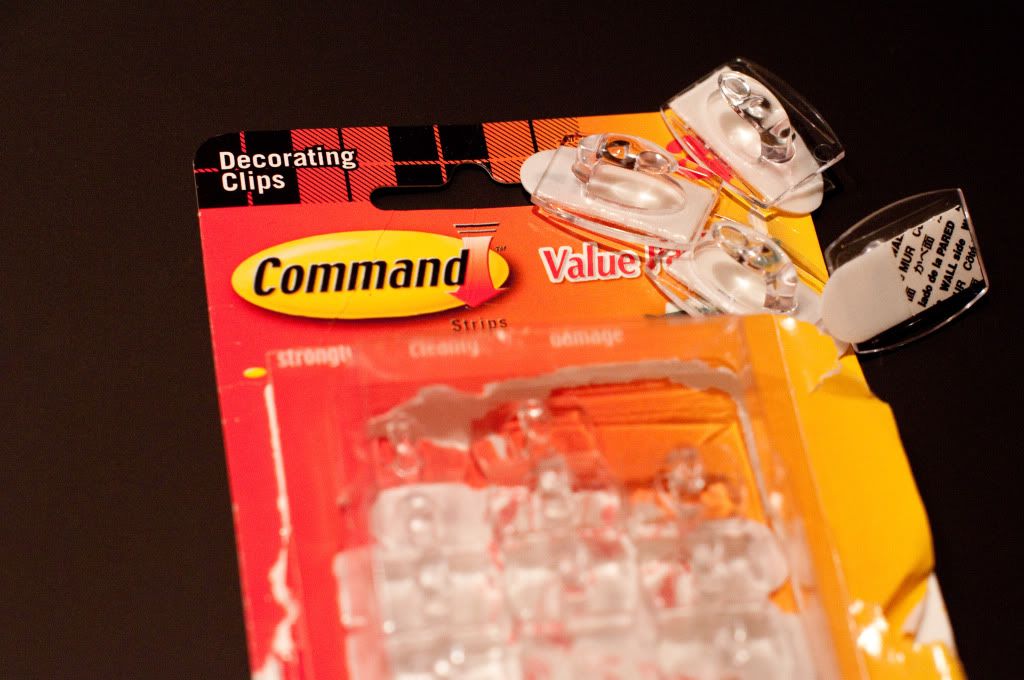
Our command strips on our ceiling stay up year round so that I can hang whatever I please :-). My husband was worried that the ruff puff (now...just for the record...he did not call them ruff puffs. He called them thingies. Just sayin'. Don't want him to lose his man card.) was too heavy for the strip to hold but, nope, they totally held them. Even a week later they are still going strong, even though those strips have probably been up there for a year now.
So after just a little work, voila - hanging ruff puffs perfect for a Fall Inspired Shower!
great tutorial i have some foam balls and was'nt sure what to make with them, i think i may try this, i love the ones you have made, thanks for sharing xxxx
ReplyDelete