Don't you just love aged wood? Wondering where it's been, who used it, who loved it. Ok, maybe I read "The Giving Tree" too much as a child! But I do love it. I wonder about it's story. I love the beauty of it, the color the texture. But it seems hard to get these days (unless you use pallets...I heart all those pallet crafts out there) or expensive. Someone on Craigslist wanted $45 for an old crate. FORTY-FIVE dollars. That's just crazy talk. So sometimes you have to make your own aged wood.
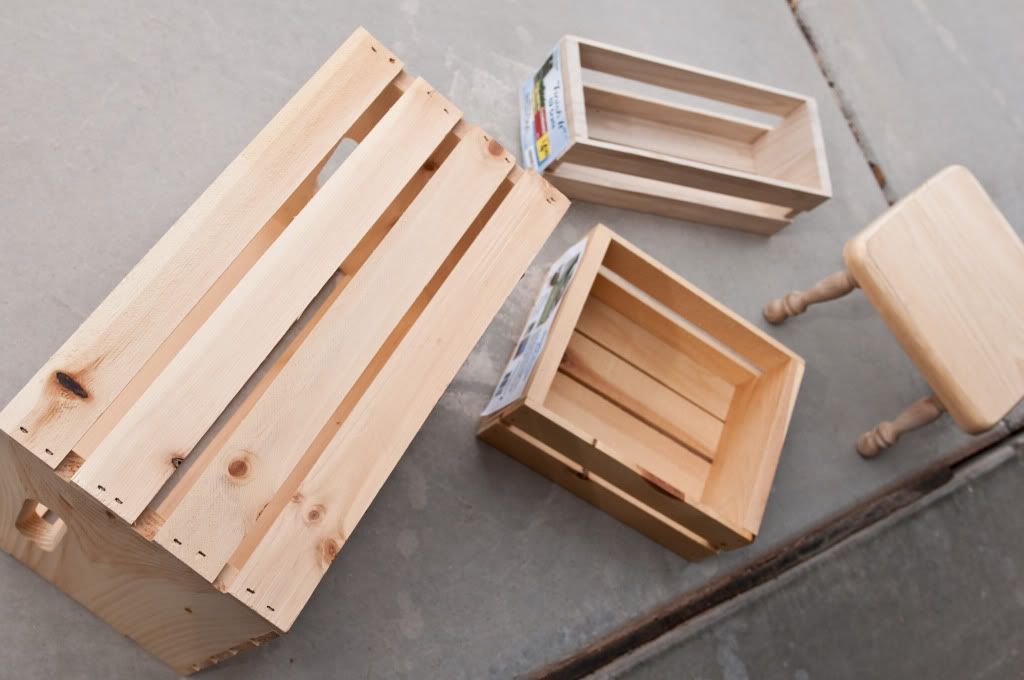
I recently took this bunch of craft store wood and used a couple different techniques to "age" it.
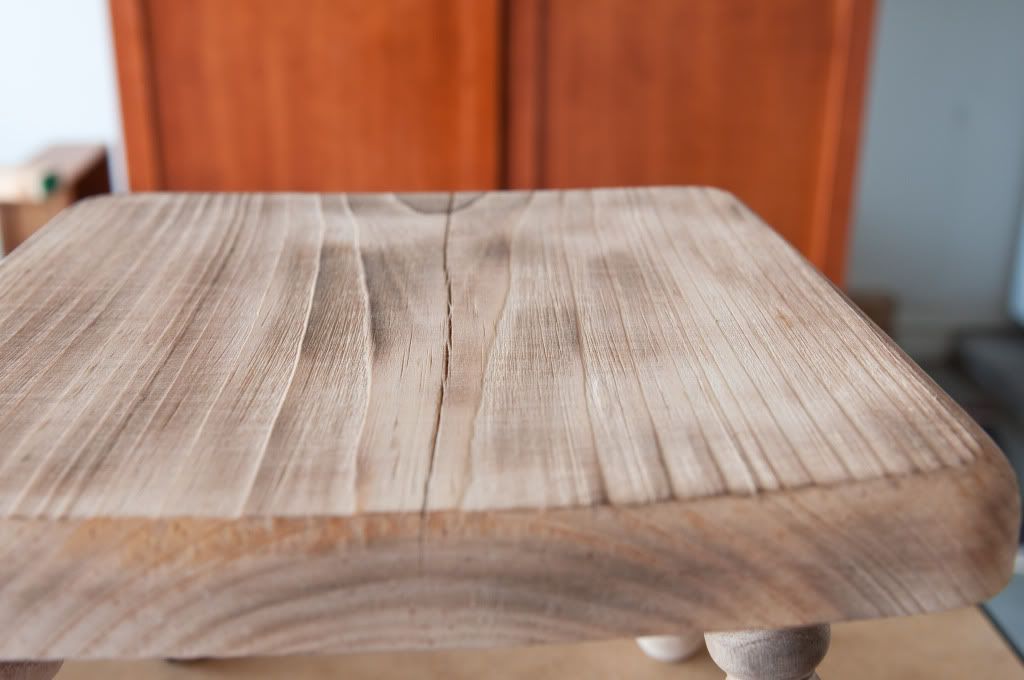
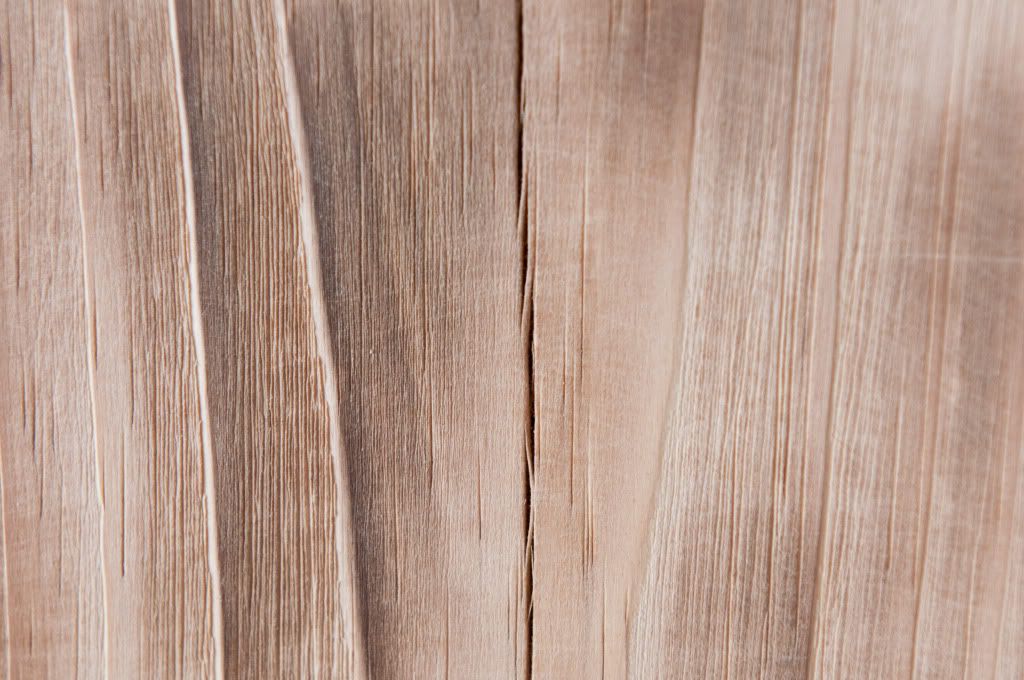
I started with raising the grain. I love the texture of the raised grain on true aged wood. I see lots of techniques that visually give the appearance aged wood, but I want to be able to run my hand over it and feel age. You can achieve that by using a blow torch, a steel brush and some elbow grease. I've already blogged about that technique HERE. So that's where I started, charring all the wood and scraping the soft grain down.
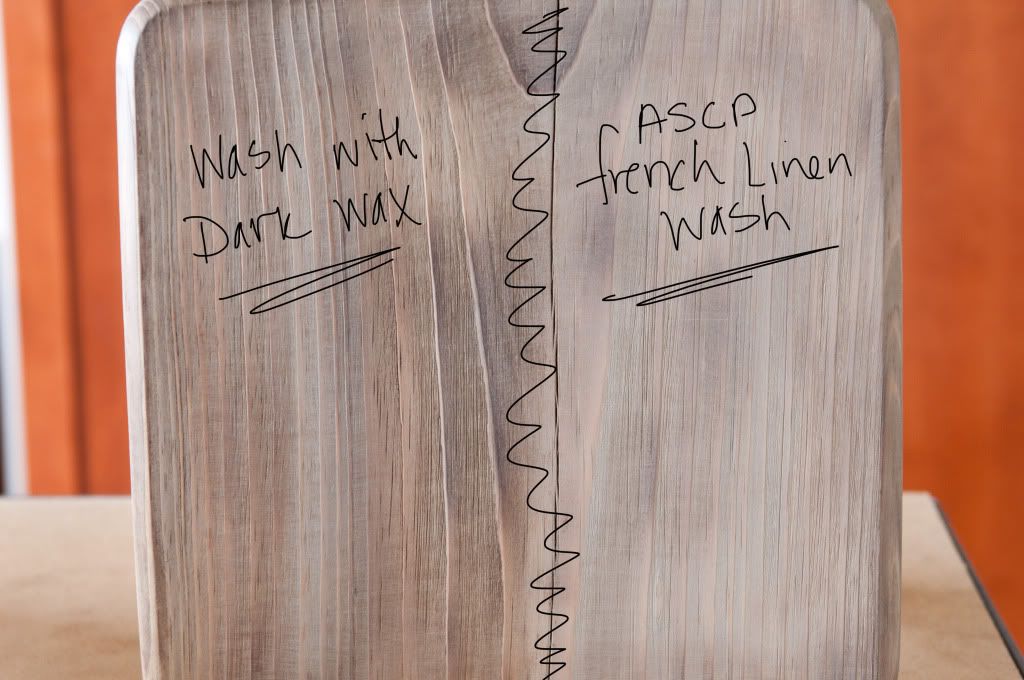
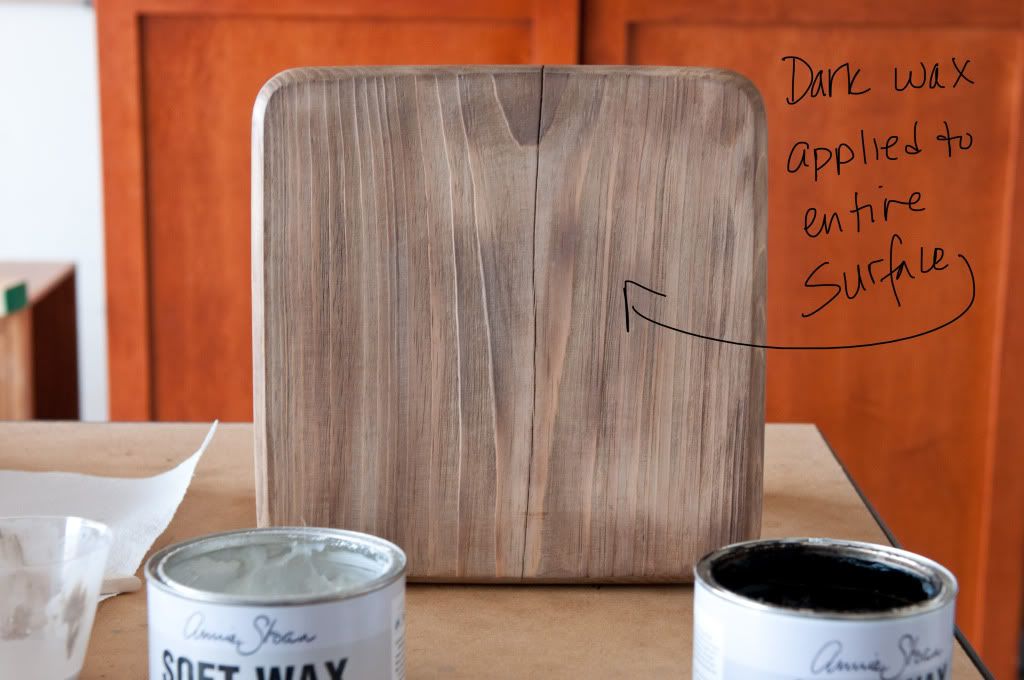
I almost could have left them just like that but I felt they were too warm and too raw, they needed some greying. I used a wash of Annie Sloan Chalk Paint in French Linen (this is an AWESOME new color... I get my ASCP through Lady Butterbug). After that, it felt like everything was too evenly colored and a little dark wax would be just the trick to "grime" it up.
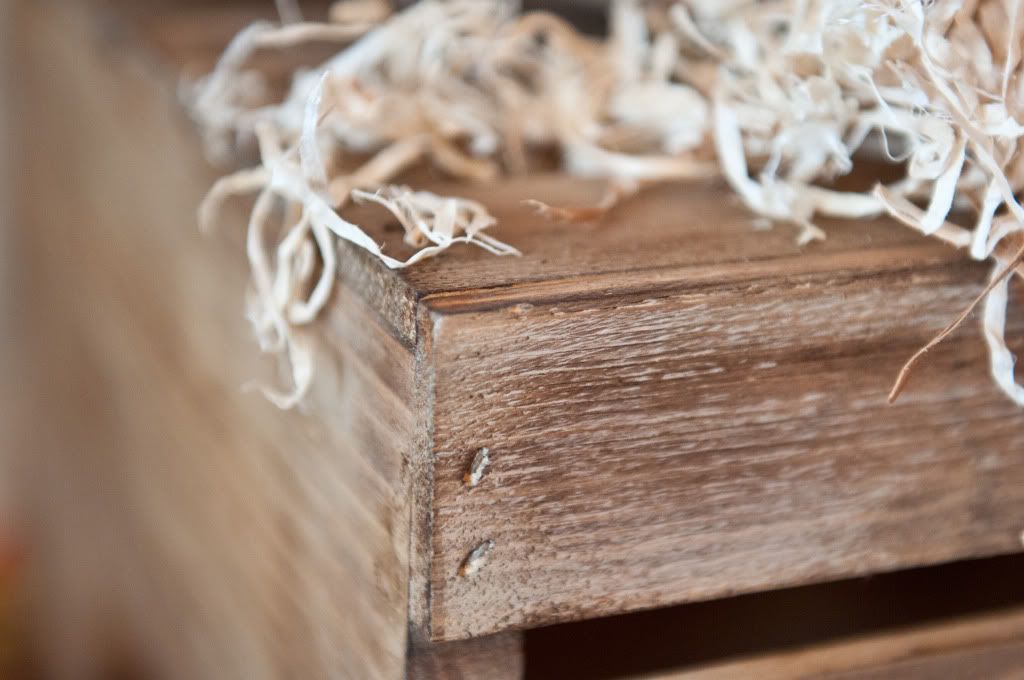
Yup, that was just the trick. Here's the final product. I love how the blowtorch, wash & wax give such variation in color. And the blowtorch technique really gives me that texture I want. If I had had time I would have beaten this little guy up a little to distress it too. But even without that step I'm pretty pleased at how vintage he looks:
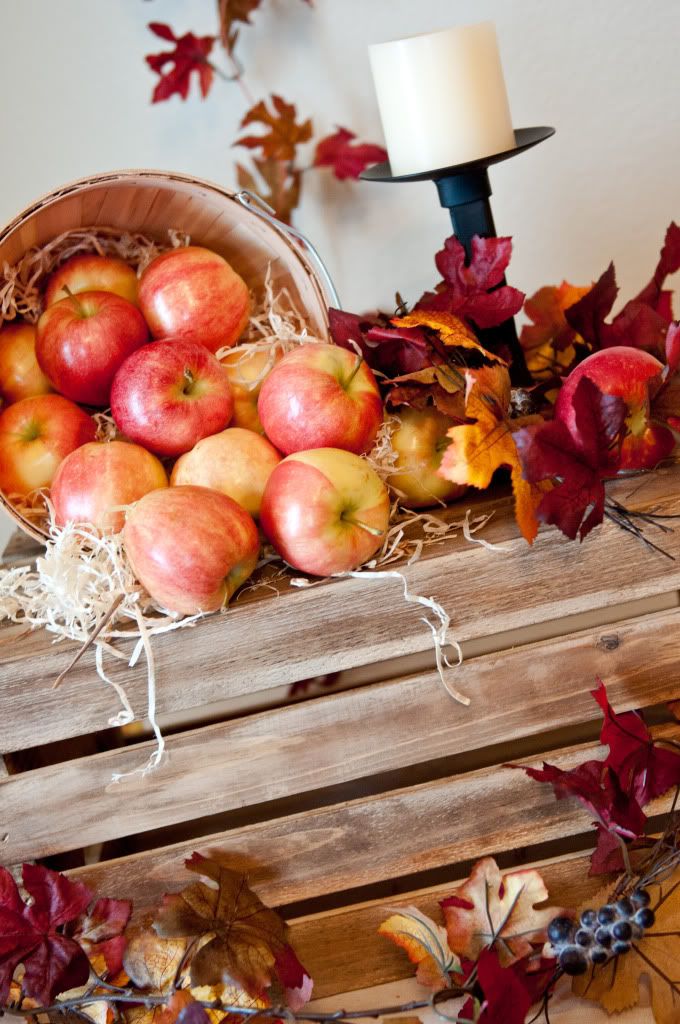
Here's one of the crates in action at the Fall Inspired Bridal Shower:
No comments:
Post a Comment
I love to read your comments. Thanks so much for taking the time to leave one!